How to combine scanned documents into one PDF
Join existing PDF scans in the right order, with a practical check for missing pages, blurry text and the limits of merging.
Updated 2026-10-07
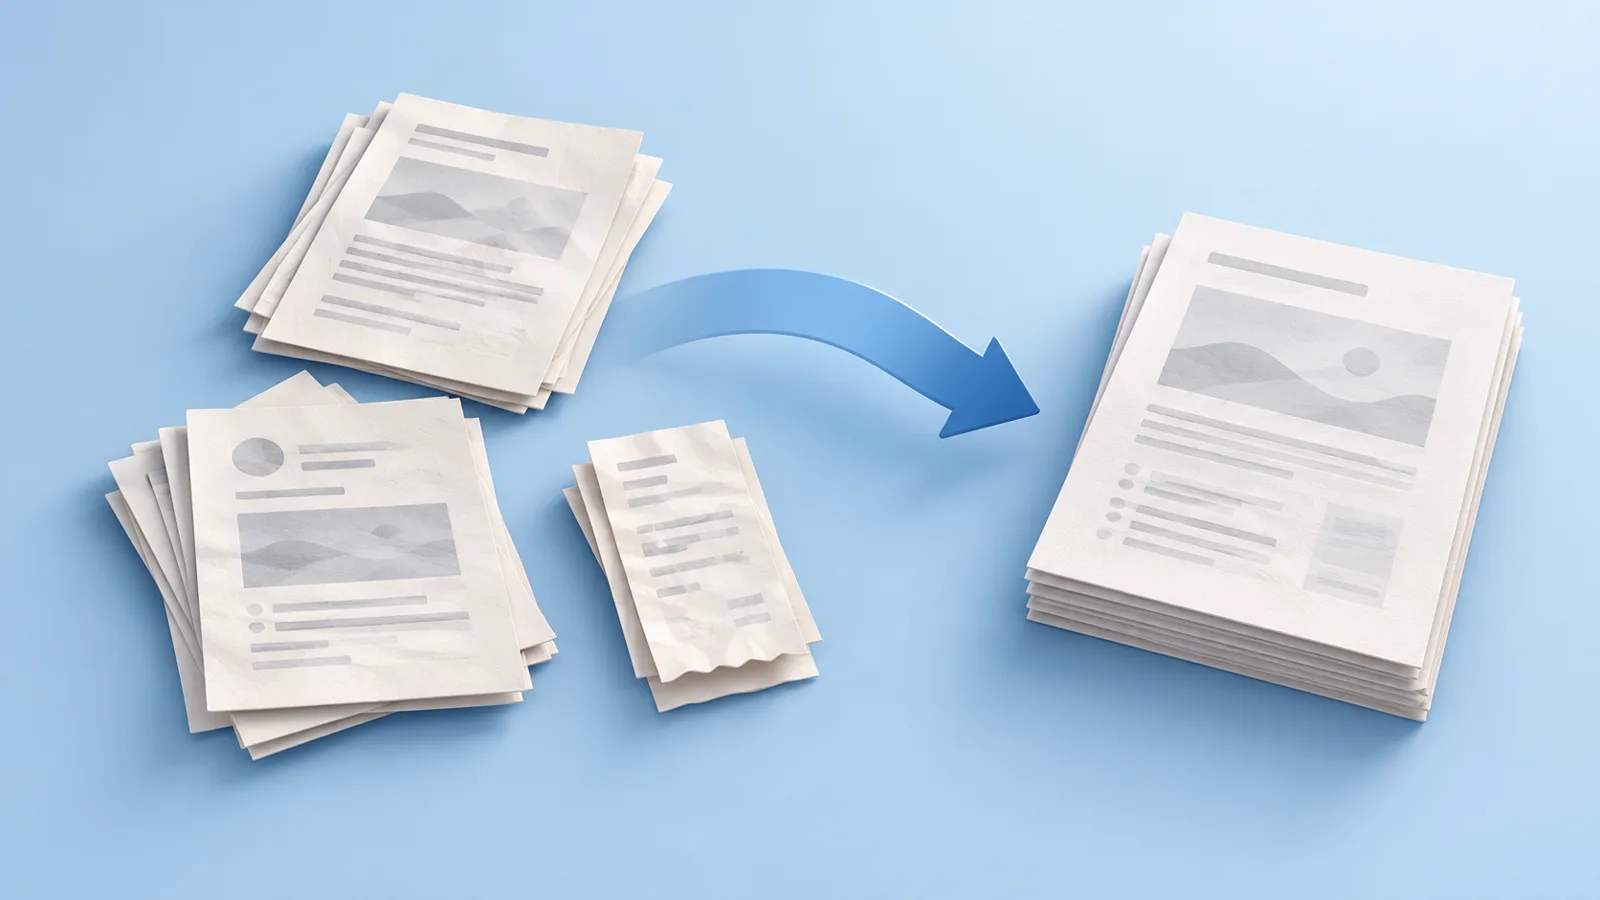
To combine scanned documents into one PDF, save each scan as a PDF, arrange the files in reading order, and merge them. Then open the result and check every page. If your scans are photos rather than PDFs, convert them first. Merging puts documents together; it does not repair blurry text or make an image-only scan searchable.
This guide starts with scans you already have. You can use a PDF per sheet or a PDF containing several pages, but that choice affects how you set the order.
Check what your scanner saved
Open each source file before combining. A file name alone does not tell you whether the scan is complete or readable. Check that the file opens, that no sheet is missing, and that you can read small text at a comfortable zoom level.
Use this decision table to choose your next step:
| What you have | What to do before merging |
|---|---|
| One PDF for each sheet | Name the files in reading order and add each one once. |
| Several PDFs, each with multiple pages | Check the page order inside each PDF, then order the whole files. |
| JPG, PNG or other image files | Export or convert them to PDF first. Renaming the extension is not conversion. |
| A PDF with a sideways, blank or misplaced page | Correct that source in a page editor or rescan it before combining. |
PDF Combiner accepts PDFs and reorders whole files, according to its Chrome Web Store description. It does not provide individual page rearrangement. If page 2 of a source belongs after page 5 of another, prepare the pages separately in a suitable editor first.
Keep the original scans in a separate folder. Work with copies when you correct or convert them, so you can return to the originals if a page looks wrong later.
Combine the prepared scans in Chrome
The extension's documented local-file workflow is:
- Open PDF Combiner in Chrome.
- Add the prepared PDFs with the file picker or drag and drop.
- Arrange the whole files in the order the recipient should read them.
- Click Combine and open the downloaded PDF.
Use the local-file path when your scans are on your computer. The listing says this path processes files locally and works offline; installation requires internet access. Google Drive is an optional, separate source that needs a connection. See the PDF Combiner product overview for the basic workflow.
An example packet
For an illustrative packet, suppose 01-cover.pdf has two pages, 02-scans.pdf has three, and 03-receipt.pdf has one. Place the files in that order. The expected result has six pages: the scan section starts on page 3 and the receipt on page 6. These numbers describe the example, not an extension limit or a measured test.
Write down the expected total before merging. That gives you something concrete to compare with the finished file. A matching count is useful, but it cannot catch a duplicated page that replaced a missing one.
Inspect the joins between documents
Start with the first and last page of the output, then review each boundary between source files. In the example above, check pages 2 and 3 together, then pages 5 and 6. A section can have the right page count while still beginning with the wrong sheet.
For a short packet, inspect every page. For a longer one, also check all pages that were difficult to scan, such as faint receipts or folded sheets. Look for:
- Missing backs of double-sided sheets.
- A duplicate scan or an unwanted blank page.
- Sideways text, clipped edges or a missing date.
- Small print that becomes unreadable when you zoom in.
If a problem is already visible in a source scan, correct that source and combine again. Repeating the merge alone will not recover text that the scanner failed to capture. Give the finished file a distinct name so you do not accidentally send an earlier version.
Do you need searchable text?
A readable scan and a searchable PDF are different results. An image-only page can look clear while a text search finds nothing. Try searching for a distinctive word you can see on the page, and check whether you can select its text.
If search is required, use a tool with optical character recognition, usually called OCR. Adobe's OCR documentation explains that OCR creates a searchable text layer and recommends reviewing the recognized text for errors. Check names, dates and numbers especially carefully.
PDF Combiner is the merging step in this workflow. It does not offer OCR. Do not assume that joining scans will add searchable text, or that a successful search proves every page was recognized correctly.
Keep file size and page size separate
Before sending the packet, check the saved file's size against the destination's limit. Combining scans is not a compression workflow. If the file is too large, use a separate compression tool or export smaller source scans, then check their readability again. Check the destination's help page for its exact upload requirements.
Physical page dimensions are another issue. A receipt scan and an A4 sheet may have different dimensions. If you need uniform pages, prepare them with a tool that explicitly supports resizing; PDF Combiner does not promise to standardize them. If the packet is for printing, review print settings separately. Adobe documents printing PDFs with mixed page sizes, which is a different task from reducing file size.
Keep the originals until you have checked the final packet and confirmed that the recipient can use it. Save the checked packet with a name that identifies its contents.